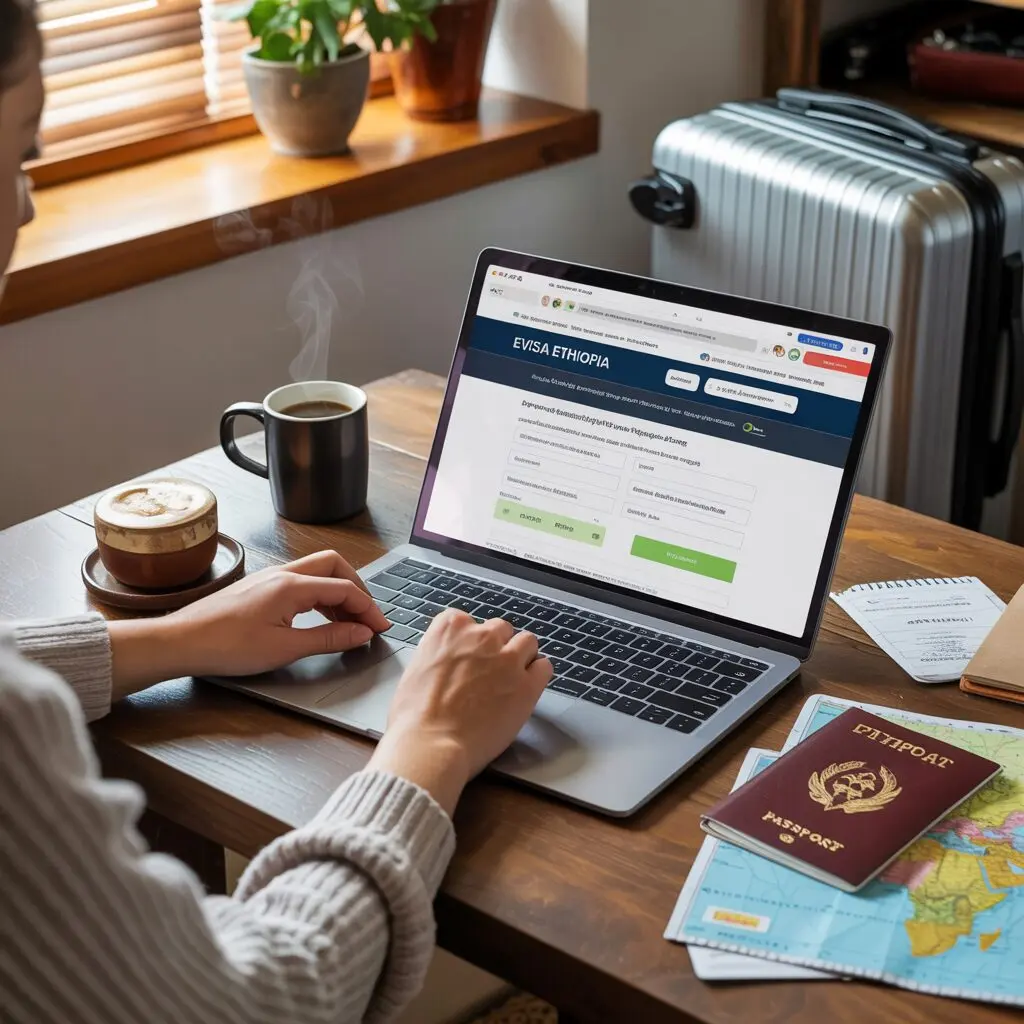
Applying for an Ethiopia eVisa is a straightforward online process that takes about 15-20 minutes. The official portal at evisa.gov.et guides you through each step, from selecting your visa type to receiving your approved visa by email. This step-by-step guide walks you through the entire application so you know exactly what to expect.
Before You Start: What You Need
Before visiting evisa.gov.et, gather these items to complete your application in one session:
- Valid passport – Must be valid for at least 6 months from your intended entry date
- Passport scan – Color scan of your biographical data page (JPEG or PNG, 300 DPI minimum)
- Passport photo – Recent color photo with white background (JPEG or PNG)
- Travel details – Your intended entry date, accommodation address in Ethiopia
- Return or onward ticket – Flight booking confirmation
- Credit or debit card – Visa, Mastercard, or American Express for fee payment
- Email address – A valid email you check regularly (your eVisa will be sent here)
For business eVisa applicants, additionally prepare your invitation letter from an Ethiopian company and a cover letter from your employer.
Having all documents ready before starting prevents timeouts and ensures you can complete the application without interruption. The portal does not save partial applications.
Step-by-Step Ethiopia eVisa Application
Follow these steps to apply for your Ethiopia eVisa:
Step 1: Visit the official portal
Open your web browser and navigate to evisa.gov.et. This is the only official Ethiopian government eVisa website. Click the “Apply Visa” button on the homepage.
Step 2: Choose your visa type
Select between:
- Tourist Visa – For sightseeing, visiting friends/family, cultural activities
- Business Visa – For meetings, conferences, trade activities, business exploration
Then select your preferred duration:
- 30 days – Suitable for short visits
- 90 days – For extended travel or business stays
Step 3: Enter personal information
Fill in the required fields:
- Full name (exactly as it appears on your passport)
- Date of birth
- Gender
- Nationality
- Passport number
- Passport expiry date
- Place of birth
- Email address
- Phone number
Step 4: Enter travel information
Provide your travel details:
- Intended date of entry into Ethiopia
- Purpose of visit
- Accommodation address in Ethiopia (hotel name and city)
- Port of entry (Addis Ababa Bole International Airport for eVisa holders)
Step 5: Upload documents
Upload the required files:
- Passport biographical data page scan (color, JPEG/PNG)
- Passport-size photo (color, white background, JPEG/PNG)
Each file should be under 2MB. If your files are too large, compress them using an image editing tool before uploading.
Step 6: Review your application
Carefully review all entered information. Check that:
- Your name matches your passport exactly
- Your passport number is correct
- Your email address is spelled correctly
- Your intended entry date is accurate
Errors at this stage are the most common cause of visa problems at immigration.
Step 7: Pay the eVisa fee
Proceed to the payment page. Enter your credit or debit card details:
- Card number
- Expiration date
- CVV/security code
- Cardholder name
The portal accepts Visa, Mastercard, and American Express. The fee is charged in USD.
Step 8: Submit your application
After successful payment, your application is officially submitted. You will see a confirmation screen with your application reference number. Save this number – you will need it to check your application status.
Uploading Your Documents
Document upload is a critical step where many applicants encounter problems. Follow these guidelines for successful uploads.
Passport scan requirements:
| Requirement | Specification |
|---|---|
| Format | JPEG or PNG |
| Resolution | Minimum 300 DPI |
| Color | Must be color scan |
| Content | Full biographical data page |
| Clarity | All text must be readable |
| File size | Under 2MB recommended |
Photo requirements:
| Requirement | Specification |
|---|---|
| Format | JPEG or PNG |
| Size | Passport-size (2×2 inches) |
| Background | White or light-colored |
| Recency | Taken within last 6 months |
| Expression | Neutral, eyes open |
| Resolution | Minimum 600×600 pixels |
Tips for successful uploads:
- Use a scanning app on your smartphone if you do not have a scanner
- Ensure good lighting when taking photos of your passport
- Avoid flash photography that creates glare on the passport page
- Crop the scan to show only the passport page, not the surrounding surface
- Test your photo by viewing it on a computer screen before uploading
Paying the Ethiopia eVisa Fee
The Ethiopia eVisa fee must be paid online during the application process. Payment is the final step before submission.
Accepted payment methods:
- Visa credit or debit cards
- Mastercard credit or debit cards
- American Express credit cards
Fee amounts:
| Visa Type | 30 Days | 90 Days |
|---|---|---|
| Tourist eVisa | $62 | $152 |
| Business eVisa | $62 | $152 |
Payment tips:
- Ensure your card has international transaction capability enabled
- Check that your card has sufficient balance for the fee plus any foreign transaction fees
- If payment fails, wait a few minutes before retrying – multiple rapid attempts may trigger fraud protection
- Save your payment receipt or screenshot the confirmation page
- The fee is charged in USD, so your bank may apply currency conversion
Important: The eVisa fee is non-refundable once the application is submitted, even if the visa is denied or you cancel your trip.
After Submission: What to Expect
Once you have submitted your application and payment, here is what happens next:
Timeline:
- Immediately: You receive a confirmation email with your application reference number
- 1-3 business days: Most applications are processed and approved
- Approval email: You receive your approved eVisa as a PDF attachment
What the approval email contains:
- Your approved eVisa as a PDF document
- Visa details (type, validity, entry dates)
- Your personal information as entered in the application
- Instructions for entry into Ethiopia
What to do after receiving your eVisa:
- Download and save the PDF to your phone and email
- Print a physical copy as backup
- Verify all details match your passport (name, passport number, dates)
- If any detail is incorrect, contact the Ethiopian Immigration office immediately
The eVisa is linked to your passport number. At Addis Ababa Bole International Airport, immigration officers will verify your eVisa against your passport.
Checking Your Ethiopia eVisa Status
If you have not received your eVisa within 3 business days, you can check the status online.
How to check status:
- Visit evisa.gov.et
- Click on “Status” or “Check Status” in the navigation menu
- Enter your application reference number (from your confirmation email)
- Enter your passport number
- Click “Check Status”
Possible statuses:
- Processing: Your application is being reviewed
- Approved: Your eVisa has been issued (check your email)
- Rejected: Your application was denied (see common reasons below)
- Additional information required: You need to provide more documents
If your application has been processing for more than 5 business days, contact the Ethiopian Immigration and Citizenship Service. Have your application reference number and passport details ready.
Common Application Mistakes and Fixes
Many eVisa applications are delayed or rejected due to avoidable mistakes. Here are the most common issues and how to fix them.
| Mistake | Symptom | Fix |
|---|---|---|
| Name does not match passport | Visa rejected at immigration | Reapply with name exactly as on passport |
| Wrong passport number | Visa not linked to passport | Contact immigration to correct or reapply |
| Blurry passport scan | Application delayed | Rescan clearly and resubmit |
| Wrong photo format | Upload fails | Convert to JPEG or PNG |
| Payment declined | Application not submitted | Enable international transactions or use different card |
| Wrong email address | Approval email not received | Check spam folder or contact support |
| Passport expiring soon | Application rejected | Renew passport first, then reapply |
| Incomplete form fields | Cannot proceed to payment | Fill all required fields (marked with asterisk) |
If your application is rejected, you can reapply with corrected information. However, the visa fee paid for the rejected application is not refunded.